

This tutorial is for very basic, easy, binding-free sketchbooks that are low-cost and take only a few minutes to make. The directions are for small (4.5″ x 6″) concertina-style sketchbooks, meaning the pages fold together inside accordion-style; no staples or sewing necessary. You can use the dimensions listed or work with whatever size paper you have on hand. I’ll add the price breakdown and a little more info at the end. If you’re here for the tutorial, we’ll jump right in:
Materials:
- 2 sheets of mixed media or watercolour paper (9″ x 12″/22.8cm x 30.4cm)
- tape or glue (recommended: white or off-white painter’s/masking tape)
- backing board, boxboard or cardboard (not corrugated); 2 pieces measuring 4.5″ x 6″ (11.43cm x 15.2cm)
Process:

Fold your sheets of paper in half horizontally from landscape orientation to mark the center line, and cut along this line.
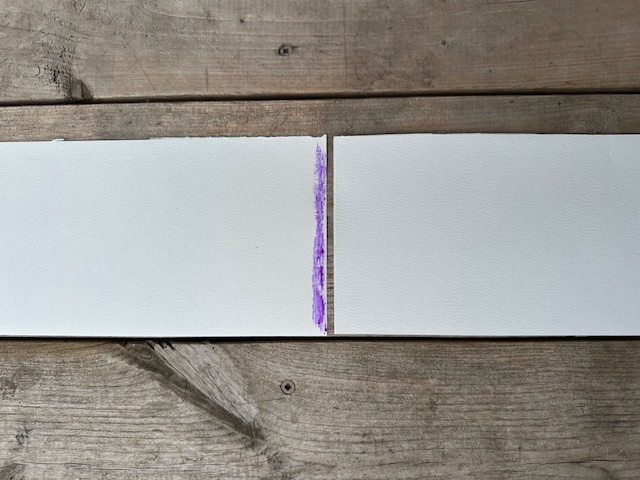
You should now have 4 rectangular pieces of paper measuring 4.5″ x 12″ each. Line them up end-to-end, trying to keep them as straight as possible. (In the photo above, I’m using the straight edge of decking boards to keep my paper in a straight line. You could also use a meter stick or the straight edge of a counter or table.) Connect all 4 sections with tape, or glue them by overlapping about a quarter inch or so (no need for precision here, but note that using tape to connect the pages will allow for more even folds.)
The result will be one very long strip of paper. Once the glue has dried, it’s time to fold the pages.

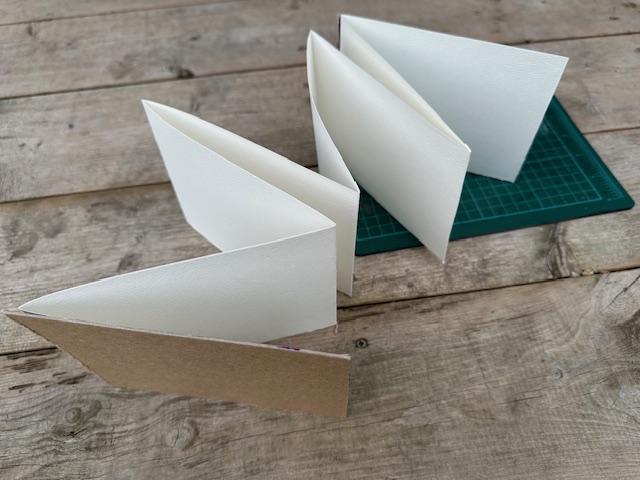
Start by folding the first section in half to meet the first seam, and then fold at the seam in the opposite direction. Continue to accordion fold like this until you come to the end of the strip. If you have used glue, keep folds as close to the seams as possible, even if the sizes aren’t exact.
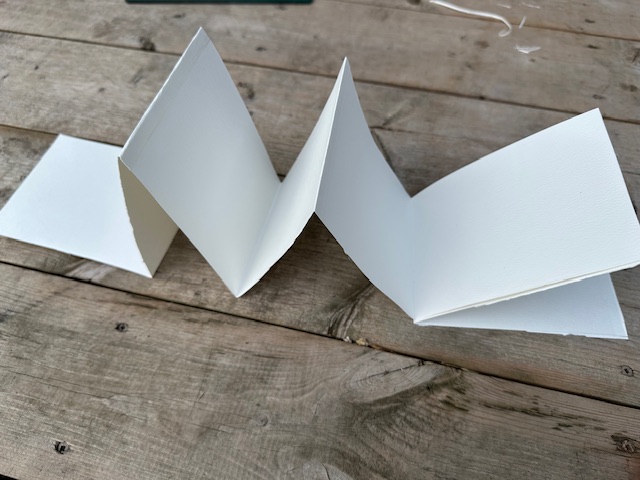
These are your pages.
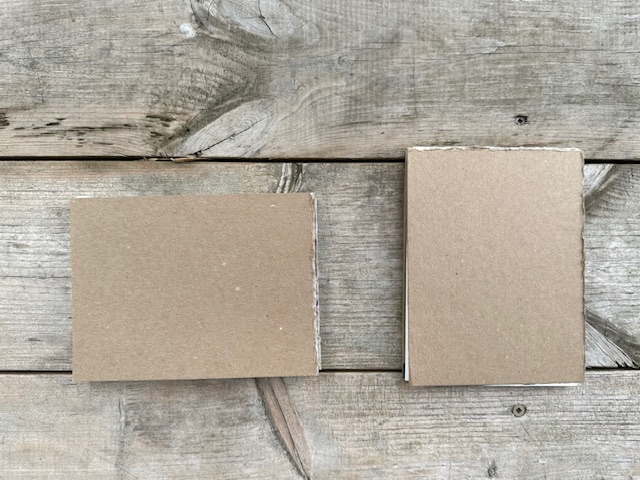
To add the cover, you’ll use the backing board. A cover isn’t strictly necessary, but it will provide a firm surface when field sketching.
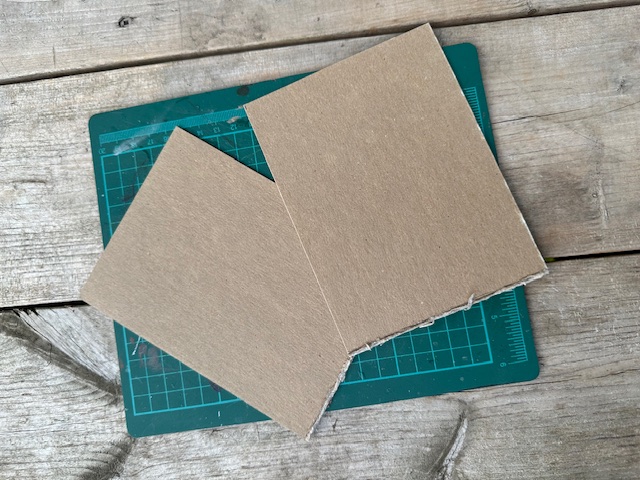
You will need one piece each for the front and back.

(If you have used different size paper, cut your cover material to the same size as your pages.)
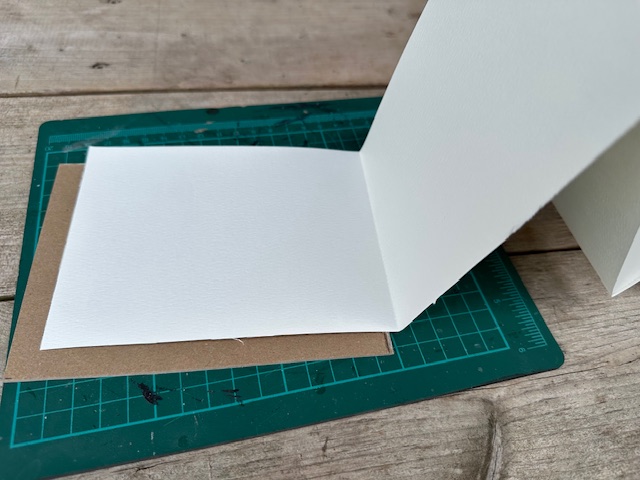
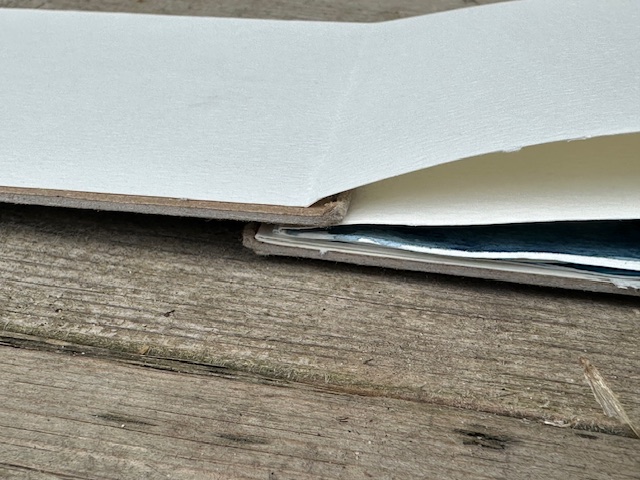
Cover one side of the backing board with glue and line it up with the outside of one of the end pages.
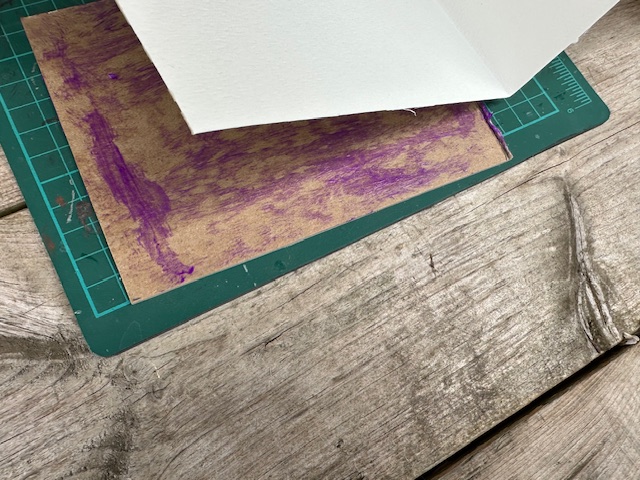
Press firmly to affix the paper to the backing board.
For the other cover, repeat. Press firmly or place under a heavy book until the glue is set.

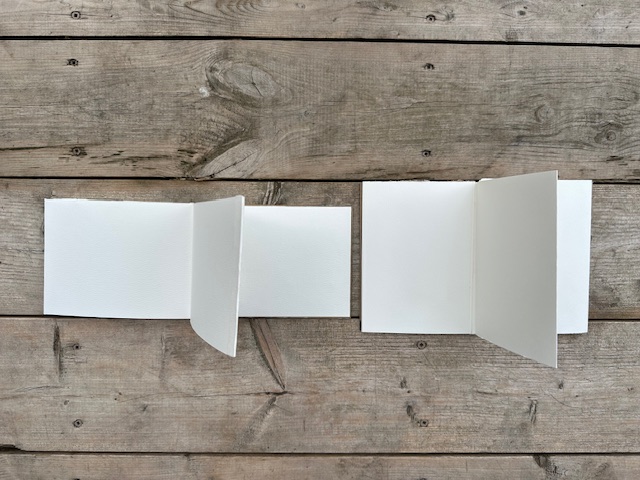
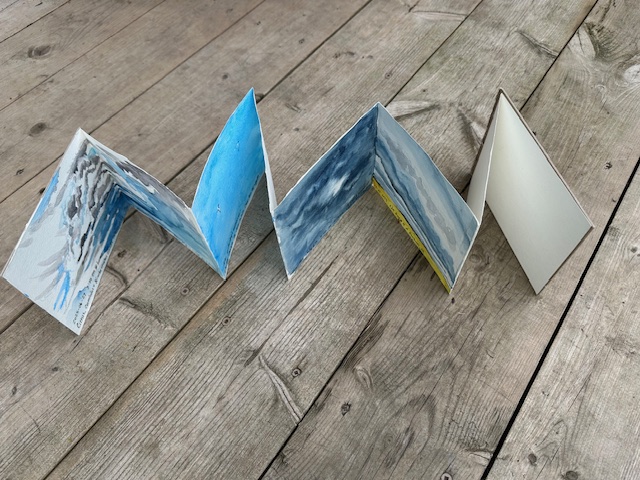
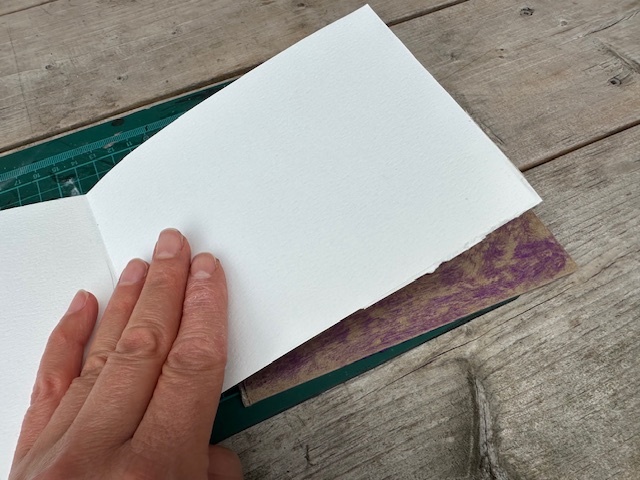
Your concertina sketchbook is finished! This one has a landscape (horizontal) orientation.

A portrait (vertical) orientation can be made by going back to the first step and folding & cutting the 2 sheets of paper horizontally from portrait orientation, for 4 strips of 6″ x 9″ (15.2cm x 22.9cm) paper. Then, follow the remaining steps.
Something to note, if the pages don’t line up exactly, they will still open and close just fine.
Simply allow the covers to tuck between pages where they naturally fall, and get on with your sketching.
Bulldog/binder clips or an elastic band can be added to keep your sketchbook closed when tossed into your field bag with other art supplies.
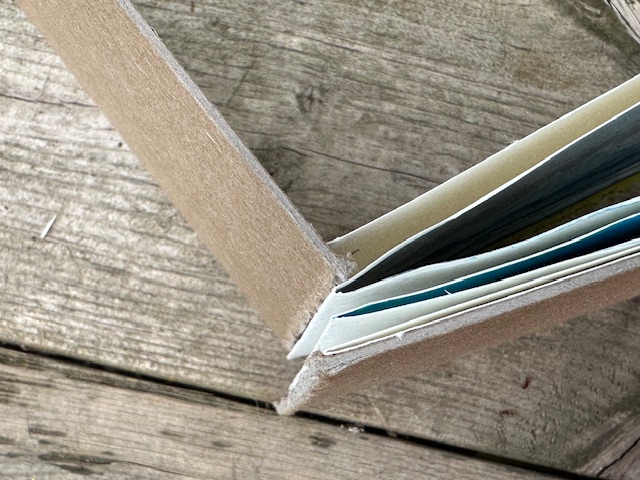
Once all the pages on one side of your sketchbook have been used, flip the book over and use the other side! They have 14 useable pages in total. Covers can, of course, be decorated too.

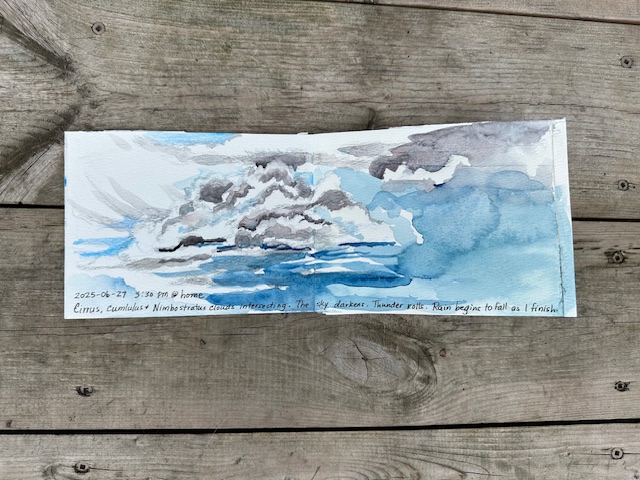
To test these sketchbooks, I’ve decided to fill one with watercolour sketches of clouds and skies. As I often sketch outdoors or in a moving vehicle, I’ve found the size to be travel-friendly, and the size of the small pages is easy enough to fill in a short period of time. I’ve been pleasantly surprised at how well the budget paper I chose is holding up, even when I’ve gone overboard with wet media.
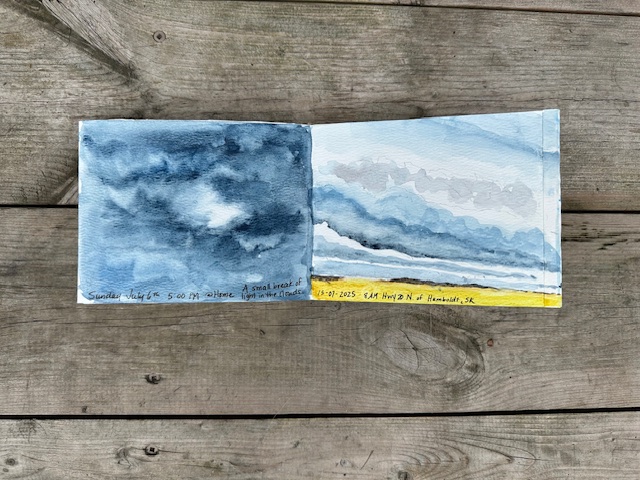
It will be interesting to see the results when it’s filled and opened up wide.

The price breakdown:
- Salvaged backing board: free
- 2 sheets 90 lb acid-free watercolour paper: $1.20 (From a $9.00 Hilroy Studio Pro watercolour paper pad with 15 sheets = $0.60/sheet).
- I did not include the price of materials/tools that are commonly on hand in the home or classroom (glue, tape, scissors)
- Total Cost: $1.20/each
I designed this sketchbook purely for functionality with mixed media and watercolour in mind, specifically for field sketching, but you could adapt it to whatever size or media you prefer. You could also use extra paper for more pages. Other student-grade watercolour or mixed media paper may be available (or on sale) for a better price. Check out other online tutorials for more ideas.
The Why:
Art papers can be expensive and teachers are on a tight budget, but anyone who has tried to put wet media onto regular bond/printer paper knows it buckles and doesn’t hold up. I wanted to see if it was possible to get good paper into the hands of students for a reasonable price. This sketchbook design is the answer to that question. It’s basic but the simple construction makes it an easy project for all skill levels. The size is small but with the concertina construction, pages can open out for an extended surface if needed. These little books are inexpensive, portable and field-friendly, with just enough sturdy pages (give or take) for a season’s study. And, they should hold up to whatever media you can throw at them.
While functionality is the focus here, these sketchbooks can be made more aesthetically pleasing with a little cover art and creativity. If you pursue this project for yourself/classroom/workshop, let me know how it works out!

Leave a comment